Growing up - come Thanksgiving time - the Pumpkin Pie was MINE! I'm unsure how this tradition started, but it is still here.
Partly, it may have to do with how much I loved eating the raw pie crust, but that's another story. Functionally it comes down to the fact I started making pie crust before I was mentally equipped to be nervous about the results. I was just experimenting. (OK, maybe I never got over that). But because I was just playing around, I had the time to do it wrong on the way to right.
But back to the crust. Because I started working with pie crust before I knew it was an object of fear and loathing, I've never really had trouble with it. In fact, one year at camp they had a pie making contest and I busted out an apple pie off the top of my head.
So with that in mind, it was High Time for the offspring to learn pie crust. A valuable skill out there in the big bad world.
So what makes pie crust (and thus pie) so easy AND so hard? It is simple - but needs to be adjusted by experience. It's not a hard and fast ratio like water (H2O - Always 2 hydrogens to 1 water - no matter what). It is close to a hard and fast ratio - start with 2 C flour and 1 of fat - but then it needs a little adjustment, a little water, don't forget the salt.
And less is more. Manipulate it less. Overworking it makes a rock hard crust. Walking away when it seems sort of unfinished is the key. And use your hands. Get floury and buttery. The crust will come out better for it.
And the key of all keys. Wrap it and let it rest.
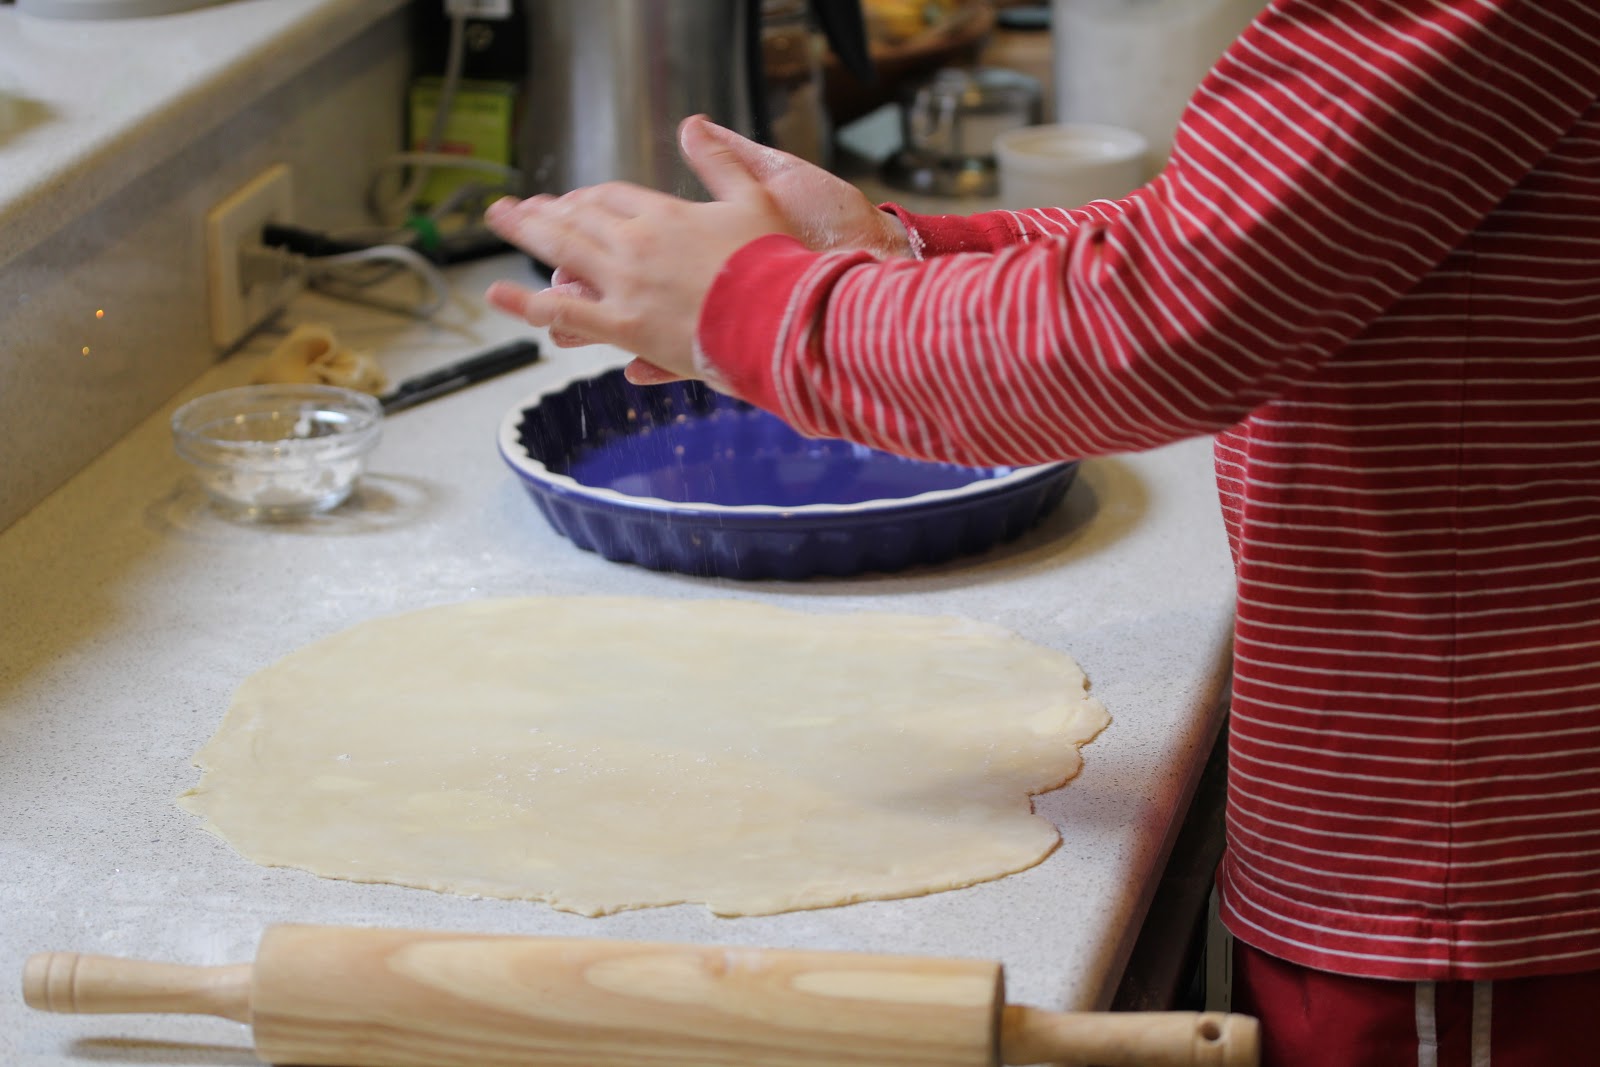
Because if you do that - then your child(ren) can learn to do this:

Oh - and Julia Child's kitchen wisdom recipe (more or less)
For 2 9(ish) inch Pie Crusts
Equipment:
large bowl
2 butter knives or a pasty cutter
clean hands
square of plastic wrap/wax paper/produce bag/tea towel
very clean, dry counter
And later -
rolling pin
2 9-ish inch pie pans
Ingredients:
2C flour - if you have it, use 1/2C cake flour and 1.5C AP flour, but don't sweat it if you don't.
1C cold butter (that's 8oz or 2 sticks) Lots of people (inc. JC) swear by 4oz butter + 4oz vegetable shortening or lard. That works great too, but again what you have is what works best.
1 Tbs + ice water
1tsp salt
Prep:
Scoop up 1 heaping cup of flour. Level it off with a butter knife. Dump it into the bowl. Repeat to get 2 cups of flour.
Pour the flour into a large bowl
Add the salt and stir it in.
Chop the butter (or butter/shortening mix) into large pea sizes.
Dump them into the flour and proceed to cut the butter into smaller and smaller pieces - until the flour looks like coarse corn meal. Add in the 1 Tbs of ice water - dribbling it all around the flour.
(Can also have the food processor do the above cutting/mixing.)
Using clean hands, squish the whole thing into a ball, and dump it onto the counter.
Use the heel of your hand to push out a portion of the dough into a "tongue". Pull it back in.
Do this about 5 times to get all the loose flour incorporated (more or less).
Smoosh it all back together, cut it in half, and pat together into 2 disks about the size of the circle you can make with your 2 hands together. Wrap it up.
Let it rest for at least 30 min in the fridge. Or up to 2 days. If its going to hang out any longer than that - freeze it.
Roll it Out:
Let fridged dough sit on the counter for 1-5 min (depending on how long its been in there). Frozen dough needs a solid hour on the counter - or just remember to thaw it in the fridge the night before (I know - I crack myself up sometimes).
Sprinkle flour on the clean, dry counter top, (or a very smooth tea towel), rub some on the rolling pin (device), and get plenty on your hands. Have flour out to keep things unsticky. As long as your sprinkle lightly, don't worry about using too much.
Roll out the pie dough.
Sprinkle flour on the clean, dry counter top, (or a very smooth tea towel), rub some on the rolling pin (device), and get plenty on your hands. Have flour out to keep things unsticky. As long as your sprinkle lightly, don't worry about using too much.
Sprinkle flour on the clean, dry counter top, (or a very smooth tea towel), rub some on the rolling pin (device), and get plenty on your hands. Have flour out to keep things unsticky. As long as your sprinkle lightly, don't worry about using too much.

Try to roll up and down. Then turn the dough 90˚ (1/4 turn).
Flip, do this to the other side. This will keep the dough in a basically circular shape (a rounded rectangle) and fairly even thickness.


Repeat until it is quite a bit bigger than the pie plate - giving room for the pie crust to come all the way up the sides and drape over the edge.

When it's big enough - with floury hands - lift it into the pie plate. Jiggle it down and either drape it over the edge and cut off the excess.

If you are feeling fancy, you can pinch the extra into fluted edge - then cut off the extra extra, or even cut out leaves or other shapes and place them around the edge.


Fill it with sweet or savory!


