Tuesday, January 29, 2013

Cardamom Tomato Lentils and Savory Aebleskivers

[This meal was part of an ingredient challenge from Marx Foods.  Can you make something tasty with at least 2 of these green ingredients?  dill pollen, green cardamom, green lentils, mint crystals, bamboo rice.  Thanks all of you who voted!]

Cardamom and Lentils.  It's a trivia bonanza!

1.  Lentils - are so much a part of European cuisine, you can't escape them, past, present or future.  Heck, there were a series of consuls in the 150 years BCE all with the family name of "Lentulus"(listening to E. Gibbon's _Decline & Fall of the Roman Empire_ is doomed to leak into your life.)  Future tense...? Don't talk farm subsidies.

2. Scandinavia (Denmark, Sweden, Norway, Finland & Iceland) has an approximate population of 24 million people or about 0.3% of the world's population, yet consumes 16% of the world's cardamom!  In their baked goods, in case you were wondering.
(India, the UAE and Saudi Arabia consume about 29% - but it is from around there, and some of the Saudi's mix it 50-50 with coffee!)

3.... oh just get to the food.

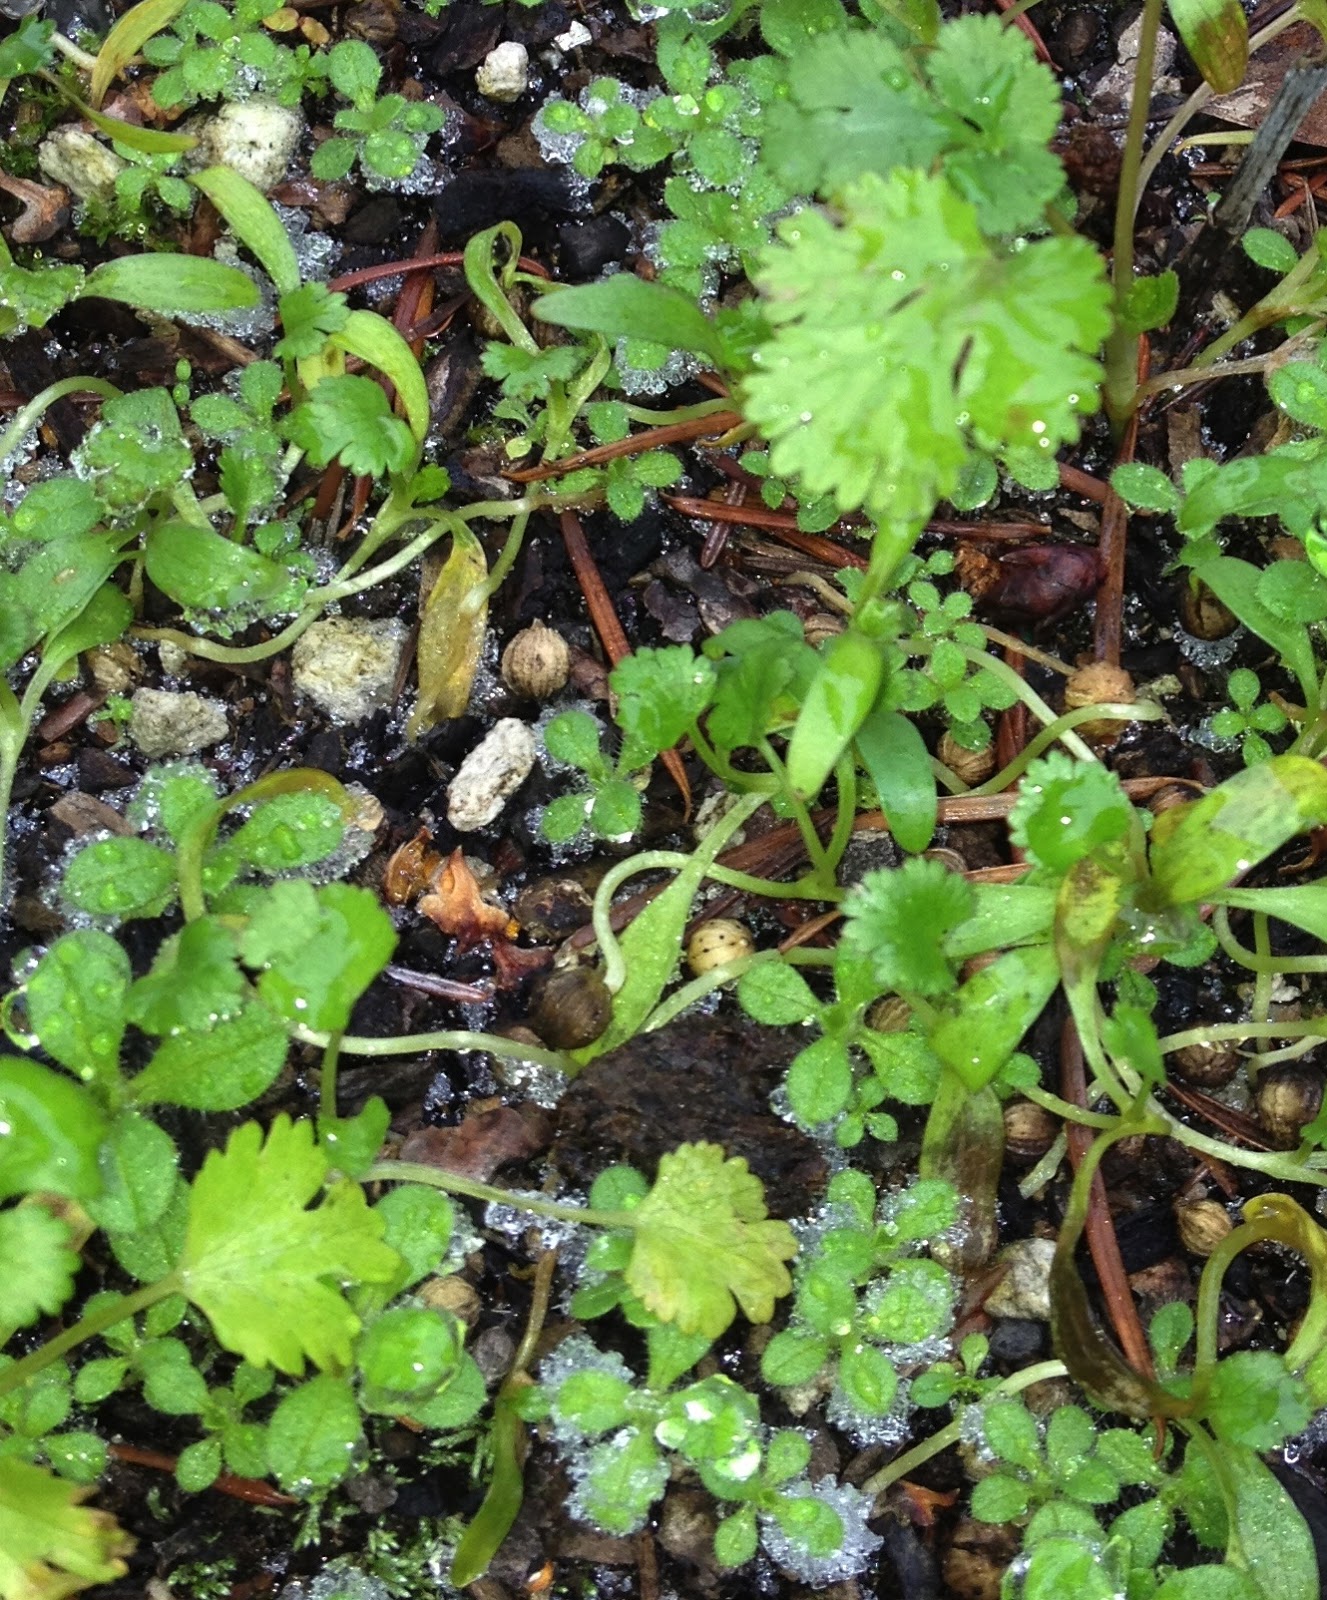
The whole thing was clambering for some yet to be invented Fried Pancake meets Dal (daal, dahl, the BEST iteration of lentils) ultimate meet up.  Between the pancake throw-down, and the dill pollen making everything smell like dill pollen, there seemed one natural 1st stop.


dill, tomato, lentils and crispy spicy aebleskivers - warm and happy tummy.

When you make this right, with fresh cardamom, there will be enough spice in the aebleskivers (those pancake ball things) to give your lips a little tingle.

Equipment:
chopping stuff
sauce pan with a lid (or 2 if you want this to go faster)
aebleskiver pan (or a skillet*)
stirring spoon
whisk
small bowl
larger mixing bowl
fork
disher or small measuring cup for aebleskiners/pancakes
toothpicks or skewers
mortar & pestle or spice grinder

Ingredients:

tomato sauce -
14.5 oz can PLAIN tomato sauce (or some of your own)
2 Tbs oil, butter or ghee
6 green Cardamom pods
2 bay leaves
1 cinnamon stick
1 medium spicy dried chili (e.g. japones, del arbol, serrano, aji amarillo)

lentils for dal -
1 Tbs butter
1 Tbs olive oil (or replace these fats w/ 2Tbs ghee)
1.5 C Green Easton lentils
1/4 purple onion - diced (white or yellow could work too)
1/2 tsp dill pollen (+ a bit more for sprinkling)
water
salt to taste


aebleskivers/pancakes
1 egg
1 tsp sugar
1/4 t salt
1/2C milk
1/2C tomato water** (or 1/2C water or broth w/ 1Tbs lemon juice)
2 T melted and cooled butter - or ghee
1C AP flour
1/4 C whole wheat flour (it can be all AP, but this creates a richer flavor)
1 t baking powder
1/2 tsp baking soda†
1/2 tsp fresh ground cardamom seeds from 2-3 pods
1/2 tsp fresh ground black pepper

Prep:

In a sauce pan, melt/heat the fats over medium heat.  Add the spices (cardamom, cinnamon, bay and chili) and heat until they sizzle and the cardamom pods swell.  Turn the heat down to low, and with the lid in one hand, pour in the tomato sauce.  Use the lid to tame the splatters.  Tune the heat until you get a simmer, and let it go for 25 - 30 minutes.  It is ready when you can taste the spices in the sauce, and a little bit of an oily sheen may develop on the top of the sauce.  (This is a completely "do ahead" task, and double or more this - freeze extras for later, and other things.)
I used this puppy to pop open the
pods then, take the seeds out,
discard the pods and crush the seeds

Dice the onion.

Pop the little black seeds out of the cardamom pods, and crush them in a motar & pestle or spice grinder.
Measure out all the ingredients for the aebleskivers, whisk together the wet stuff (egg through butter) in a small bowl, and in another bowl, mix all the dry stuff (flour through pepper)
And have extra butter on hand for the pan fryin' of the batter.

Cook!

Dal - In a sauce pan, heat the fats over medium heat, and add the purple onion, and sizzle it until it starts to get brown edges or translucent, add the dill pollen and stir in the lentils.
Add the water up to the top joint of your pinky.  Adjust the heat to simmer the lentils with the lid on.

At about 20 minutes, check the liquid level and the doneness of the lentils.  If the lentils look dry, add a little more water.  If the lentils taste done (unlikely), pull them off the heat.  Keep an eye on the lentils over the next 10 - 15 minutes - they should be approaching done.
When the lentils are tender and creamy to the bite, take off the lid and dry them out (let liquid boil/simmer off until it look like they are too dry/gummy) and add 1C of the spiced tomato sauce.  At this point also taste for salt, and add what is needed.

Aebleskivers - Heat the pan over medium heat.  Add the wet ingredients to the dry.  Whisk them together to get a pretty smooth batter (need not be perfect).  Put a little bit of butter (about 1/2 tsp) into each well in the pan.  As it sizzles, fill the wells almost full.  Wait about 3 minutes - until there is a firm crisp shell on the bottom.  Use the toothpicks/skewers to turn the aebleskiver "dome-up."  The other side takes about 3 minutes too.

Serve up the lentils, maybe sprinkle on a tiny pinch of pollen, tear open a crispy hot cardamom spiced aebleskiver and eat up!

*This all still works if you only have a skillet.  Just make this batter in to pancakes about the size about the size of the palm of your hand.

For the record:
This is an aebleskiver pan
** It's winter.  How am I to get tomato water?
I cheated.  I sent a can of tomatoes through the blender, and let it drain through a suspended tea towel/jelly bag.  You can also freeze ice cubes of tomato water in the summer and seal them in a zip-top bag.  Or use your own canned tomatoes.  Just know the left-over pulp is pretty flavorless.  And the canned tomatoes will have some extra salt - so adjust your recipe accordingly.  Oh, and if you do use canned tomatoes DO NOT use the water in cooking beans or lentils.  Calcium citrate is used in the canning process (to keep the tomatoes firm).  The resulting calcium ions in the water reinforce the pectin and starch bonds in the lentil's cell walls stopping them from softening.

† You are right, there is not normally baking soda in aebleskivers.  However, since these are savory, and use much less sugar, the batter needs a different tenderizer.  Baking soda with it "basic power" (it is alkaline rather than acid) help make all the starches more tender.  And the acid in the tomato water (or lemon juice) reacts with the sodium bicarbonate to give a little extra lift.

Sunday, January 27, 2013

Ramen Re-Post - I need to eat out more often!

Remember, how I made the excuse that, "I'm not in San Francisco, so I'll just settle for dried ramen noodles?"

Lame, lame, lame.

There are several perfectly respectable noodle bars in the Seattle area. (Mike's Noodle House - CID, and many others, Aloha Ramen - Greenwood, Wonton Noodle House in Edmonds... the furthest North I can find, and I don't know the South End - but I bet there's something good in Georgetown).  But for "all we do is Ramen, because if yer gonna do Ramen, you should do Ramen RIGHT" check out Samurai Noodle.

Like I did today.

And this is what I learned:


I learned I CAN get fresh ramen noodles - both thin style - starch based, and less firm, AND wavy style (more traditional) egg noodles.  But I have to go out and LEARN things to know this.  The ramen fairy will not come tell you.


$1 for this ball of skill and knowledge?!
A steal I tell you.


So now I have 6 noodle balls lovingly packaged and frozen in my freezer for my next ramen iteration.

AND for you Seattle peeps who get Amazon Fresh grocery delivery - they have Ramen kits, and will soon be selling them at Uwajimaya AND other local groceries.  (I hope they do a noodle-and-broth-only kit for us Whackos out here with sous vide pork belly in the freezer).


AND they send you home with incredibly excellent instructions.

In my dream world of everybody getting together to make the best food for the best world... Samurai Noodle would get a big kitchen space to make their ramen kits - and sell little frozen vacuum packs of broth in ALL the grocery stores.  And they would get their pork bones from local pig producers.  Because this would make pork bones an asset, rather than a waste product - helping local meat be more sustainable by becoming more profitable and more part of the community, making the the circle of local production even more AWESOME.
And if Samurai Noodle is in need of funding to build this broth kitchen - I bet a Kickstarter with awesome coupons as a rewards would make it go.

I mean if I were in charge.

All in all, not a bad day's work:
1.  Super Delicious Lunch on a rainy day;
2.  New Awesome takeout place for A's work;
3.  Now I have no excuse for not using fresh ramen noodles when I go to that much trouble for the pork belly in my soup;
4.  Real ramen broth is in my future.

Friday, January 25, 2013

Prince Henry the Navigator Fish and Lentils

The Iberian Peninsula and India have been swapping ingredients since the start of the 15th Century.  Vasco de Gama washed up on the Malabar coast (near Calcutta) in 1498, and the Portuguese put down stakes for the next 450 years.

Yes, Prince Henry was dead by then (1394-1460) and likely never did more in a boat than splash about in an ornamental pond, but he gets the credit because he set up the navigational school that jump-started the Portuguese age of exploration, and the Iberian dominance of the seas - until the Brits got all good at it.

One legacy of that is Portuguese sausage versions all over the world*, and intriguing Indian whispers in Iberian cuisine.  So when lentils, green cardamom and dill pollen showed up in my box of surprises, I had a good idea.


Global mashup - savory and warming rather but not hot.  (But this would be an easy one to spice up if you wanted to.  Drop a dried chili or two into lentils while they simmer; Cascabel - for a hotter smoky flavor; or Japones - for a medium, cleaner, more Asian type spice)

The middle of January means limited truly fresh fish (though the industry is much better at frozen), almost no local fresh veg, and a ongoing desire for warm hearty food.  This fills all those bills.  I can get lovely sustainable farmed steelhead (a sort of large flavorful trout) from the Columbia river.  And all the rest of the ingredients are made to be stored and pack a bunch of flavor.


So this is how it went down:


Equipment:

chopping stuff
saucepan w/ lid
skillet (non-stick optional)
paper towels
tea towels or heavy/freezer paper
splatter screen for frying fish (optional, but handy)
chop sticks or small tongs or a fork

Ingredients:


1 Tbs Butter

1 Tbs Olive Oil

2 Tbs Linguiça/Chorizo (or other dry smoked pork-paprika-garlic sausage) - this means a piece about as long as you thumb.


8 Green Cardamom Pods

1 Cinnamon Stick
2 Bay Leaves

1/2 Purple onion

1.5 C Green Easton Lentils
1/2 a regular size potato (or 1 small) - what you have
Water to cover and up to the top of your 1st pinkie joint.

2Tbs tomato paste

1 Tbs (or so) sherry vinegar
salt and pepper to taste

1 lb steelhead fillet (or salmon, arctic char or a trout)

neutral oil to thoroughly coat your skillet

Dill Pollen


Prep:
Learn a new skill (I did tonight!) Scale your fish.  (this is a "soft" scaled fish, so you need not get every scale off, or even skip the step...)
Hold the end,


scrape your knife against the grain
of the scales - 
so the knife is picking up the edges of
the scales,
and they end up on your knife.


Yes, I am still trying to figure out
how I feel about ceramic knives.
They are very nice for fish.
They CAN be odd and sticky with some veg.


Wipe off the knife, quickly rinse the fish and PAT IT thoroughly DRY!

Place it flesh side down on paper towels (skin side up) in the fridge.  The dry cold air will dry the skin more.  The skin cannot be too dry for the crisping step (only too wet).


Slice the sausage into small, skinny pieces.
Dice the purple onion.
Peel the potato and roughly chop it.


Cook!
(A)  Place the sauce pan over medium high heat, and put in the fats.


Add in the 2Tbs-ish sliced chorizo/linguiça.
Fry it down to savoy crispy bits.  Spoon these out and drain them on a paper towel. (Save!)


(B) To this flavored oil, add the Cardamom Pods, Cinnamon Stick and Bay Leaves.  Watch them as they fry.  When the pods swell up to resemble little light green blimps, turn the heat down to medium and add in the onion.


Stir, and when the onion starts to get a bit brown around the edges, add the lentils and tomato paste.  Stir them into the ingredients.
Add the water up to about your 1st pinkie joint depth. (That's a measurement!)
Bring the water to a boil, turn down to a simmer, cover all or partway with the lid.
These lentils took over 30 min to cook (definitely worth it, they have a bite that turns creamy).  At 30 minutes, use a fork to mash the potato to begin to make a creamy sauce.
Check a small spoonful every 5 minutes until you hit "creamy done," the lentils are whole, not bursting, but have a creamy texture when you bite them.  Add a little water if the lentils are starting to look a little gummy or dry.

When the lentils are approaching done, use the chopsticks (tongs/fork) to pull out the whole spices.**

Stir in the salt, pepper and sherry vinegar.  TASTE.  Adjust the salt, pepper and vinegar gently to get to an amazing flavor.

When the lentils are done, cover them, shove them to the back of the stove.


(C) While the lentils are cooking, get your fish out, and trim off the thinner edges (belly flap and the like - keep for test cooking, or cook at the end and make into fish salad tomorrow).  
Cut them into rectangles that are 2-ish inches long - or a size so each one has a pretty uniform thickness.  Add a scant layer of high-temp, neutral tasting oil to your skillet.  Sprinkle a tiny amount of salt and a pinch of dill pollen on the drying skin.

Turn on the heat to medium high under the oil.  Put a tiny piece of fish in.  When it starts sizzling and frying vigorously, the oil is ready.  Place the fish rectangles in skin side down.  (Not all of them - NO crowding!)  The fish will sizzle, use the splatter guard to lessen the mess if you have one.


The flesh around the edges will become opaque, but wait 1.5 - 2 minutes before moving anything to make sure your fish skin renders and releases itself from the pan†, and gets crispy.  Flip the fish over, you can just kiss the other side with the hot oil (for medium rare fish), or get a little sear (for medium - medium well... know your eater).  Place it skin side up on a paper towel.


Spoon some perfectly seasoned lentils onto your plate, pop a couple of fish pieces onto the lentils, sprinkle with a little more dill pollen and the fried linguiça/chorizo bits.


This was for a diner who wanted fish on the less cooked side.


Give thanks for the seafaring adventurers who created a global fusion cuisine from long storing ingredients before they even knew it was a thing.

Happy Winter Feasting!


*Those Portuguese sailors left memories of Linguiça everywhere!

The traditional smoked pork-paprika-garlic version is found in Portugal, the Azores and Brazil, along with similar versions all along the coastal areas of South America.  It's offspring are found in and around Goa, India where it is hotter, and has a greater variety of spice, in the Philippines where it is a sweet sausage, known as "longanizza," as well as a Japanese version, and a Hawaiian version where the smoke is provided by banana leaves.

** You can leave the whole spices in, but there's always the chance of biting into a whole cooked cardamom pod or cinnamon stick, or playing "bay leaf bingo."  It can be interesting, just know your crowd.


† Why fish skin sticks... and then unsticks:  The proteins in the fish skin - what makes it elastic and waterproof initially sticks to the hot pan - much like the meaty parts of bacon.  However, as the fat under the skin heats up and liquifies, it infiltrates the proteins and fries them, driving even more water out and heating the protein molecules above the boiling point of the water they were harboring.  Both of these things cause the proteins to take up yet newer formations - ones that aren't sticky - and the fish skin unsticks.


The lesson - make sure your fish skin is dry, and be patient - let it release, don't try to scrape it off the pan too soon.


If you skin fish is too wet, the protein matrix of the skin will be flabby and weak.  The initial contact with the pan causes microscopic uneven heating, causing the fish skin to pull and flex in all sorts of directions.  Fish skin that is too wet isn't springy enough to hold together, and will tear itself apart.  This can allow parts of the skin to stick to the pan and pull away too much from the fatty layer under the skin.  And what should be a beautiful interaction gets all Foobarred.

Tuesday, January 22, 2013

It's Like Second Christmas Around Here Today!


Best mail day in AGES!

He can't believe he's got one!
Remembering them when they appeared on this earth,
I can also not believe you can just go buy one.


 T ordered a plasma ball with his Christmas money - and it came today...
Yes - they are as cool as they look.
And, no, I am not too old to play with it!

And THIS came for me today:
A box?  What are you - a cat?
 It's my mystery ingredients!


If there were a store in Seattle that is my toy store crossed with Willy Wonka's magic factory, it is this place; Marx Foods.

They have all sorts of crazy foodie products, wild, yet superior ingredients - it's like an art store for cooks.  You can't help but get ideas just walking in the door.  I got to do a tasting there in December and had WAY too much fun.  

They've decided to let me in on the challenge - these 5 green ingredients.   I have been thinking about them for days!

Do I make a risotto, pilaf or rice pudding?  Is the dill pollen more floral or savory?  Is the mint grassy or sweet?  How scented is the bamboo rice?

Already I can say the dill pollen is fragrant and amazing.  I ended up sprinkling some on my salad tonight just because it was calling to me.

And the green cardamom pods are AMAZING!  I've never had any so fresh, the seeds are practically juicy.  And their naturally slightly menthol-y flavor is smooth.  They will be combined with the mint crystals in something.

For what it's worth, the mint crystals are made with mint and sugar.  I'm dying to find out if they make basil and/or lemon verbena ones.

Stand back!  I'll be cooking over here for awhile.  I may need a few extra ingredients.  
Anyone know if Arctic char is good this time of year?  Steelhead?  Or will salmon or trout be my best bet?  Anyway, good pink fatty fish is calling to me.  Just you wait and see what I'm up to!

Friday, January 18, 2013

The Longest I've Ever Waited for a Bowl of Soup

Ramen with pork belly and a 66˚C (151˚F) egg.


We made pork belly once before, plain, just to taste it.  And it IS fatty.  It is tender.  It is intense.  And it clearly is made to be a vehicle for flavor, the lynchpin of a dish, rather than the center.  (Does that even make sense?)

What did make sense.  Advice to cure the pork belly, to roll it to keep the meat tender - surround the meat with the fat during the sous vide so it doesn't dry out*, and to slice it thin in soup.  But the majority opinion for the rolled pork belly is Japanese flavors - for ramen, which is umami and sweet and salty (predominantly).  Now I'm not complaining, but some smoky, and spiced and crispy appealed to me as well.  So off the rails I went.

For 2 lbs of pork belly:

the cure was -
1/2 C salt
1/2 C brown sugar
1 Tbs chinese 5 spice (less if you make it fresh)
and 1 tsp black pepper

Actually not a stretch at all for a pork belly cure,
just a little different for a ramen destination. 
coat the piece and make it look crusty

Pop it in a zip top bag, 


and use a sophisticated assortment of items to weight it down in your fridge for 3 days.

Then wipe it off well with a few paper towels (you could even rinse it, I suppose.  I didn't because I'll be slicing it thin.)  Tie it up all nice with string - butcher's twine - and pop it into a sous vide appropriate bag, and vacuum away.

I threw in a few garlic cloves and a dried aji amarillo chile
a medium, fruity chile - because it sounded good.
 And then 36 - 48 hrs at 142˚F.  (I saw temps ranging from 136˚F - 155˚F.  I cook my pork tenderloin at 140˚F**, so 142˚F sounded like a good spot for me.)  36 hours seems to be good, but that meant getting up at 2am (due to when I had gotten things going) and that wasn't on.  So I let it go until about 6:30 am the next morning.  Close enough.

Into the fridge.  This was another piece of good advice.  DO NOT open the hot rolled pork belly and expect to do anything.  All you will make is a mess.  Check.

So that piggy cooled down all day while I had my life.

When school was over and we were all gathered and dinner prep commenced, I opened the package, tossed the expended garlic and chile, and gingerly peeled off all the porky gelatin and reverently set it aside.  This was so concentrated it had the texture of gummy bears. 
I cut the roll into thirds, and froze two of them for later.  The last is going on to soup tonight.

Some assembly required.

Cut the pork belly into slices.  (Next time freeze it first?)  I couldn't cut the whole roll as thin and I wanted, so cut the roll in half and when from there.

Cut up radish, scallions, lettuce, and sous vide 1 egg per person at 151˚F, or go old school and soft boil or poach it.

Bring  6 C chicken broth (or one of those 4 cup carton thingies + 2 cups of water) and add the porky gelatin.  I guess I could have made "real ramen broth" but I'd already waited nearly 6 days!  Come ON!  Have you seen Tampopo?!

While this is going on, find a large slab of cast iron and torch the dickens out of your pieces of pork belly - 1 side, then the other.

Old School:  heat up a cast iron fry pan rocket hot
and crisp the surfaces quickly.

Bring it all together - noodles, slices of pork belly, scallions, radishes, lettuce, egg (my son went for kamomboko - Japanese fish cake - instead of egg).  Pour on the hot broth.  Eat messily.

Best bite of the meal:  Egg yolk, pork belly, scallion and noodle.  Whoa.

*Warning: science and/or trivia.
How can meat in a sous vide dry out, especially at those comically low temperatures?
If too much lubrication - collagen, fat, blood and any other connective tissues are melted away from the muscle fibers during the cooking process and into the porky gelatin, the muscle fibers will, in fact be dry.  This is why sometimes chicken IN chicken noodle soup or beef IN beef stew can somehow be dry.  All the things that feel unctuous or juicy to our mouths has been dissolved into the broth leaving none on the muscle fibers.

**Multi-tasking win.  Since this was taking awhile, I used the 142˚F water to sous vide the meat for another dinner the day I started the pork belly.  Totally allowed.

Monday, January 14, 2013

winter in Seattle - and Bad Puns

Today's Science vocab:
Deposition - straight from gaseous to solid form.
And if it goes on all day - the crystals just keep growing!
The are the opposite of icicles, they grow up!
(and there is no melting involved)
For the most part winter in Seattle is a lower-case "w" affair.  Soggy, grey and 38˚F is tough on the vitamin D stores and makes me want to sleep 12 hours a day, but it is by no means anything like the capital "W" Winters I've lived through elsewhere.

And when the frosty crystals disappear
without melting:
Sublimation
(dry-ice is the BEST example)


All the same, sometimes the sky clears, the temperature drops to the 20's (OK, 26, but come ON!  We're trying to have winter just for a day like the big kids) and all that extra moisture hangin' out in our air does some cool things.

My herbs are ALWAYS hardened off.  Because I believe in tough love for plants?  Not so much.  More that I'm lazy, and always thinking of 2 or so things at once.  So I get:  
Winter Parsley
(the leaves are likely toast, but the roots are fine for the spring)
Update: they're fine today too!

Winter Sage
(not bothered at all)
Winter Rosemary
(OK this year - but as you can see by the plant tag -
have to replace occasionally.  Maybe I should mulch)
and Winter Thyme!
(Oh that was bad.  But the thyme survives incredibly
callous treatment and seems not to mind the cold)

This is the incredible thing.  My cilantro reseeded again -
and looked just like the other plants in the photos above yesterday.
I was sure it was going to be compost today.
Surprise!  This cilantro I've been accidentally breeding on my porch through repotting
and neglect is coming out QUITE hardy.
When it grows legs and demands to come in, I'm gonna have an issue.


Takoyaki pans are Aebleskiver pans...

Or are they?


True Story!

It is pancake season for sure out here in the great NorthWet.  Over my son's winter break we tried for 14 - only made 11.  Stupid Norovirus.

But an interesting detour along the way.  The Aebleskiver.  The pan.

Get the real cast-iron version.
Then it doubles as home-protection...
and heats and creates the crispy shell better.

Drop a bit-o-butter in each cup, fill the cups most of the way up, maybe add a filling (chocolate chips are always good), wait for a crust to form on the bottom, and the, use toothpicks or skewers to roll the ball over.  And wait for the crust to form all golden brown on the other side.  Add toppings (powdered sugar - always good).

Then a trip to Uwajimaya and the Fresh Takoyaki stand!  (if you search "takoyaki" on the Uwajimaya page it'll give you the dates.)

Takoyaki caught my eye when I saw them being tediously turned over with two little skewers.  At home I usually use tooth picks, but the actions looked so much the same I couldn't help but make the comparison.
The wells are smaller, there's more of them, and
 the batter gets spread around quite a bit more.
And the list of fillings is impressive:
Along with the boiled, cubed octopus, there is
dried shrimp and, red pickled ginger (the savory type, not sweet)
and the scallions.
Or if you're feeling Hawaiian - they have Spam.


(What is Takoyaki?  An octopus aebleskiver of course.  OK, not quite, but it is a little ball of pan-fried  goodness - savory rather than sweet.  And much like the aebleskiver best enjoyed hot off the pan.)

I had had takoyaki in a restaurant once before.  Not as good.  They had cooled a bit, the toppings had soaked in, and the crunch on the outside had dimmed.  The secret is getting this at a stand or food cart - so they finish frying, pop on the extremely decorative toppings (Japanese mayonnaise, Takoyaki sauce or other dark sweet sauce, bonito flakes -officially, "katsuobushi"- AND nori flakes), and hand it over piping hot.


And then you eat it!

Now - here's where the debate comes in... can one make takoyaki in an aebleskiver pan - or is the aebleskiver cup just too big?
I'll agree that too much of the chewy soft dough might be a problem, but there they were, alongside the  single purpose electric, table top grills for takoyaki, aebleskiver pans packaged as Takoyaki pans.

So they may not be AS good, but I bet takoyaki follows the rue of all other foods you can make yourself, but are kind of a pain.

1. BEST: Made by experts with all the exact right equipment and lots of practice.
2. Pretty Darn Good:  Bumble through a few attempts and then get pretty good!
3. Whoops!  Try the frozen/packaged/pre-made version, and then realize you were doing pretty well, and it is worth the trouble.  Go back to trying it yourself when you really have a hankerin' and the experts aren't selling.

Extra Bonus - My aebleskiver pan is no longer a uni-tasker Alton Brown!
I'm not counting home defense.  That's just too silly.

P.S. Takoyaki are an outgrowth of okonomiyaki - a flat Japanese pancake... so see, the pancake challenge is bubbling under the surface.

Wednesday, January 2, 2013

Pancake Challenge: Day 14 (sigh)

Last Day of the Challenge.

So we'd better do something great.

Dutch Babies/German Pancakes


I still remember the first time my mom made these for me.  They are nearly as much fun to look at as they are to eat.  And be sure to be there for that moment when they come out of the oven.

Alas, they do deflate.


If you want them to puff up like that (or even higher!) - be sure to grease the pan.


Be sure you have preheated the oven!!! (To 425˚F - and then wait about 5 minutes to make sure the oven is REALLY that temp).

Classic toppings - Lemon & Powdered Sugar.


And as always... any other topping that capture your fancy.  (In the summer, fresh peeled peaches and lemon juice CAN'T be beat.  And I bet preserved peaches in winter would be a winner.)


Nope.  Didn't make the 14 days (stupid drive-by stomach bug).  That just gives me a goal for next year.  We'll try again.


It's been fun!

Tuesday, January 1, 2013

Pancake Challenge: Day 13


Happy 2013 on Day 13!

Aebleskivers - original style.


These are the straight up Scandinavian version - with cardamom, cinnamon & nutmeg - just as they should be.  And the generous full 1/8th cup filling the pan holes to make unbelievably spherical aebelskivers.

And the boy helped.

It was big batch:
Make sure to pack the brown sugar properly.

Sometimes the egg cracking goes a bit awry:


but the egg comes out anyway...
even if there is a little shell fishing at the end
And when you use what seems like almost too much batter - they come out these perfect little globes!
Cake-y inside, crispy outside.
All they need is powdered sugar
or jam
or syrup
or cranberry curd
or...