Wednesday, August 13, 2014

Fruit Salsa Time!

Summer!  Summer, summer, summer-summer.
Oh, we all are such amazing cooks
(and better than average photographers)
when we get to work with food like this!
There was rain.  And it is still raining.  I feel so much more at home.

I've just about adjusted to all this sun, the early tomatoes, the super sweet fruit, the early peppers (sunny & spicy).  And then it rained.  That means I can keep freaking out about my hot kitchen.  But that's not going to stop me from making this warm (hot) weather deliciousness.

There's not much to say, except, "make fruit salsa."
And make it like you can't make it any other time of the year.


Oh, yeah - and if you have some crab (because it is crab season), use the beautifulness to go with your crab - because that's what I made it for the 1st time.  But some nice grilled chicken - or just with some fresh cheese (cotija, mozzarella, goat cheese) you cannot go wrong.  (Crab - quick how to clean, and a pretty awesome ceviche recipe as well.)

1.  Use tomatoes so ripe you can peel them without that dunk in hot water.


That means they will be softer than you are used to.
But do it - because just this once - you CAN!

2.  Use that fruit that's getting away from you.  This is where to use that fruit that's about to go south.  If it is especially juicy (sluuuuuuurp) fruit - cut on something that can catch the juice to add to your salsa.
Nectarines.  Peaches may get all the press,
but I love the little extra acid of the nectarines.
And the smooth skins.  The non-fuzzy skin is also a plus.

3.  It IS summer, so use your summer onion - the Sweet Onion.

4.  And explore your pepper options.  Ask about heat levels, and then choose what will make you happy.  

And if you want to get hotter - but regulate the heat, you can remove some of the pow-pow by taking out some, or most of the seeds and the white membrane.

The seeds have some heat.
But the most heat lies in the white membrane
that connects the seeds to the flesh.
Use this knowledge wisely - and to your advantage.

This is a much calmer pepper -
all the fruitiness, and less of the heat.
5.  Fresh herbs.  I used basil here, but oregano, parsley and even a little mint or fennel fronds can add that special something.

6.  Acid, Salt & Pepper.  You need a gentle acid - nothing too harsh.  Right now the salsa is pretty sweet, and you want to blend the acid with the sweet, not slash harshly through it.
Some good vinegars; white balsamic, champagne, or rice.  Maybe a little lemon or lime juice if you have it about.

Add salt (and pepper if you want) to bring it all together.

Oh summer.  You are lovely.

Monday, August 11, 2014

Gyro-Style Zucchini Sandwiches

I had one of those moments where I said, "More zucchini?  ^^ Oh!  Thanks! ^^"  (Yes, those are my sarcastic eye-brows.)

And uhhhhhhhhh..........

I have come to realize - zucchini is the tofu of the vegetable world.  You can make it almost whatever you want it to be.  But MAKE is the key.  You must MAKE it into what you want.
So this time, I will make it into a tasty sandwich.  Today, next week, and a couple of times in the future.

Now it was time to press on.
Several of them were grated for their role in zucchini pancakes and Mexican chocolate zucchini bread, but there is still more zucchini coming!


And it's not just one kind of zucchini.  It is many kinds of zucchini - 

Oh yeah, and summer squash - the zephyr yellow green (above) and the patty pan (below).


And dinner.  It is time for dinner.  And I have a thing about zucchini that's only been cooked enough to be hot, but the zucchini is soft... and to my tongue... slimy.  I like to get the excess water out of my zucchini.  (Unless it is tiny - then char and eat crunchy!!!)

What the heck - lets go for something where it is so dry, it is pleasantly chewy.  Gyros.  And that means I get to use the one herb that loves my yard - oregano.


All righty then.  I sliced my zucchini into rectangles.
This was the 3 zucchini in the 3rd picture.
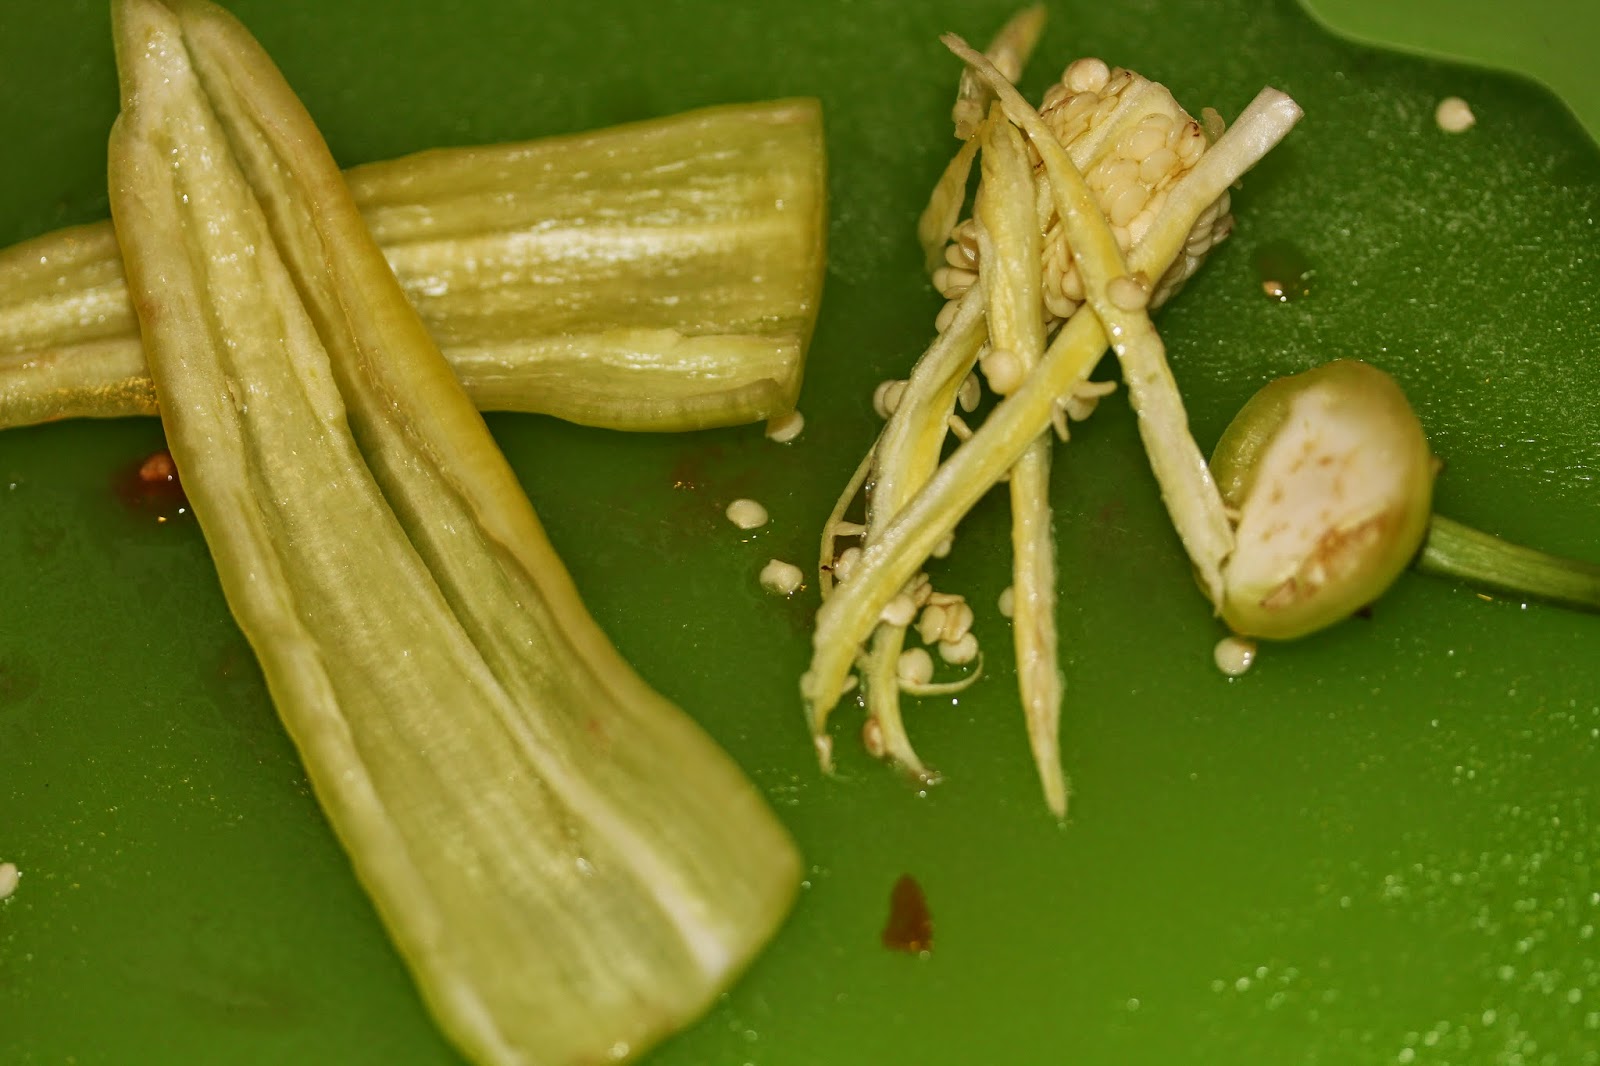
I cut off the crooknecks and they
went into the tomato relish.

So - start taking the water out with a marinade and drain.

Salt, pepper, onion powder.
Alternate zucchini and sprinkle of seasoning mixture
Zucchini draining marinade: sprinkle a mix of 1 tsp of salt, 1/2 tsp of pepper and 1 tsp of onion powder.  Zucchini, sprinkle, layer zucchini, sprinkle etc.....

The salt and onion powder are both very good at sucking water out of the zucchini, while adding flavor.

And after an hour of draining I pulled out the zucchini slices.  I did use my fingers to strip off most of the spices so they wouldn't be too salty.

I tossed the drained zucchini with a little olive oil, chopped garlic and oregano.  And then grilled the heck out of those drained zucchini slices. 

Zucchini Grilling Toss:
oil - 2 tsp
garlic - 2 cloves
oregano (& basil or parsley) small handful, chopped

I love my cast iron griddle.
These slices will cook just as well in a skillet
or on the grill - as long as they are thick enough. 
As far as I'm concerned, half the experience of gyros are the sauces - and I love an excellent tzatziki.

"Traditional" tzatziki always contains yogurt (thicker the better - check), cucumbers (check), some acid (lemon juice or maybe vinegar - check), often chopped garlic (check) and herbs (often dill and/or mint - welllllllll...........)

So I did a little digging, and it turns out the actual combination of herbs is less important.  Tzatziki, it turns out, belongs to a Mediterranean family of sauces that contain thick yogurt, cucumber, acid, (sometimes garlic) and herbs (also cacik, jaj, or even tarator - hey I bet tatar sauce has some history with....  And while raita - of Indian origin with yogurt, cucumbers, garlic & salt, but often has chilies in it, I can't believe it has no relation.)  So the fact that I had no dill or mint, but instead parsley, oregano and cilantro presented no problem.

Summer Tzatziki (cacik, jaj, tarator or mild "no chili" raita) 
can be thrown together this way:

Ingredients:
cucumber - 1 medium
garlic - 1-2 cloves (you decide)
lemon juice* or vinegar 1-2 tsp (you also decide)
salt (& pepper if you like) to taste
tender leaf herbs (anything you'd eat out of hand*) a handful or 2.

Equipment:
knife
cutting board
bowl - for draining
bowl - for serving

Prep:
Peel the cucumber and chop into cubes about the size of the top joint of your pinky (under 1/2", close to 1/4"), sprinkle with about 1/2 tsp of salt and let it sit for about 30 - 60 min.

Cook:  
Quickly rinse the cucumber, and squeeze it dry in a paper towel or two.  Stir the cucumber
Chop the garlic and herbs.
Stir them into the yogurt.  Add lemon juice/vinegar and salt and pepper to taste.

This will keep for a week and a bit in the fridge.  But you'll likely eat it all up - on this, and crackers, pretzels and as a dressing.  (It can be thinned with dairy, oil or vinegar & oil)

(Nom, nom, nom... sampling, sampling.  No really!  This is for research.)
*tender leaf herbs - these are the things you'd chop up and happily eat raw.  Basil, sorrel, parsley, cilantro, dill, fennel, chives, mint and the like.

*******

Half way there.  
Since I was serving this to my raw tomato hating husband... but I wanted the sweet/acid punch of tomato along with the herby, creamy yogurt, I had to come up with...

Sundried Tomato Relish

Ingredients:
1/4 C sun/oven dried tomatoes packed in oil
1/4 C roughly chopped zucchini (this is where those crook neck pieces went)
1 tsp (or so) white balsamic vinegar (champagne or cane juice vinegar will sub in.  Or rice vinegar in a pinch)
salt & pepper to taste

Equipment:
blender

Blend the tomatoes and zucchini together.  Then adjust the sweet/sour balance with the vinegar, and add just enough salt and pepper to make it taste delicious.  This will be pretty thick and spreadable, and good for this sandwich and many others.

*****

Then all you need is the warmed pita bread, add the grilled, spice zucchini, tzatziki, tomato relish and even a confirmed carnivore will enjoy.


Pro Tip: As long as you state Up Front that this is a Zucchini Sandwich in the gyro style, even Total Carnivores will be happy.  Only people who feel like they've been fooled will be annoyed.  And even they might forgive you.

P.S. For make ahead fans:  This zucchini can fridge or freeze and then be heated in the toaster or re-roasted in the oven... and still work!

P.P.S.  Some people feel that a tahini drizzle is essential for a true gyro experience.  I'm on board.  In fact, I have a recipe.  Drizzle away.  (Tahini is part of umami heaven).

Tahini Drizzle: for extras

Tahini - 2Tbs (or 3 Tbs sesame seeds ground to paste)
garlic - 1 clove crushed or minced
salt - 1 pinch
oil - 2 tsp (olive is best)
lemon juice - 2 tsp (or cider vinegar)
parsley (optional) - healthy sprinkle

Friday, August 8, 2014

Simple Japanese-Style Pickles

Cook once - eat lots... and with a simple preparation that keeps the veggies in great shape for days and days - even 2 weeks.  Wouldn't that be great?

Well, not only is that possible, it is within reach of just about everyone, and takes little or no heat.  With beets, carrots, cabbage and chard stems from my Oxbow CSA box, lets go.

Real quick - pickling may seem hard, or something everyone is doing.  Neither of these reasons should hold you back from picking up the rice vinegar and pickling some of your summer vegetables.

There are many flavors of pickling, and several methods - this is just one.  The fact that this is particularly easy, and it compliments lots of other flavors, makes this a great way to start.

So... onto the show.

Quick Japanese pickles
Top: non-traditional spicy beet pickles
Left: traditional carrot & cabbage pickles
Right: chard stem pickles

The fastest pickles are made with vegetables you'd eat raw anyway.
Some of the reasons I love them:
No heat,
Stay moist and crunchy for days,
Quick addition to dinner, sandwiches (hellloooooo Banh-Mí), and salads.

One con - does take some time.  But if you are doing other things and have a timer, it is worth the investment of your effort, both that day, and on into the future.

 How To:

Cut up your veg - pretty small for this style. For about 4 C of cut veg, sprinkle with 1tsp of salt.  Above I have 2 C carrots and 2 C cabbage.  Let the salt drain the veg for about 20 minutes.  
Squeeze the vegetables gently to remove the drained water.

Last of all:
1/3 C rice vinegar
3 Tbs sugar (white)

Combine everything.  It is ready to go now, and ready for the next week or so.

I kept the vegetables separate to drain (as advised in several Japanese cookbooks), but combining everything when you add the sweetened vinegar is fine.  And no, you don't need to rinse the vegetables since you want some salt in your pickle.  

Any crispy or crunchy vegetable you enjoy eating raw is great for this approach.
Some good vegetables to consider - 
carrots, diakon radish, ANY radish, kohlrabi, peppers, cucumbers, tiny baby zucchini, cabbage,  fennel, sweet onions and red onions.


The next category is vegetables that need a quick blanch/boil - and then a swim in the pickle.
That is what I did with the chard stems.  (They were from the chard that I used for the goma-ae).  The only difference is you put the salt in with the sugar and vinegar.

Choose your vegetable that needs a little cooking, boil it for a few minutes until it is just barely fork tender, drain, then toss it hot into the vinegar, sugar, salt mixture.  Let it sit and cool.  Eat it all up.
(Alternately, you can boil it in the pickling mixture - just double the amount of mixture, and add 1/3 C water)

Some good veggies for this are chard stems, broccoli, cauliflower, asparagus, beets, scapes, sliced winter squash and green beans.

The way I made those beet pickle unconventional was by using a different vinegar - in this case

spicy Filipino vinegar. (The brand Datu Puti is also what to look for if you want to play with Cane Juice Vinegar for Adobo).  And for this one, I cooked the beet IN the vinegar.

Ingredients:
1/3 C Sukang Masssim (or any other vinegar spiced with those evil little chilies)
1/3 C Rice Vinegar
1/3 C water
1 tsp salt
3 Tbs sugar

Beets - peeled and sliced into 1/4 in (or thinner) slices.

Boil the beets IN the pickling liquid for about 20 minutes.  Test with a fork at 15 minutes...
When they are barely fork tender, let them cool (they'll keep softening a bit more as they cool).

And you can spicy-vinegar-up any of these veggies.

Once again - more flavor and little or no heat!

Have fun.

Thursday, August 7, 2014

Chard Gomae - Less Heat, More Yum

NorthWest Hipster Cooking Word of the Day - Osouzai

"You've probably never heard of it."
A phrase so obnoxious it has become its own joke.  It only happens because we live in the "Google it" age.  The person who said that to you only knows because they Googled it anyway.  (I was looking up something else - but yes, I only know because of Google too.)

Anyway, back to the "too hot to cook" problem.
One thing I have noticed over the years through cookbooks, videos, living and eating in Seattle, and travel - Japanese home cooks often work with:

ONE (1) burner!
And, Yes.  It is one of these portable babies,
with a can of compressed gas.
And they only seem to use  a sauce pan and a small fry pan.  Quickly.  OK... I know there is editing, but still - sheesh - I think I can get out of the kitchen FASTER with out sweating to death. And as I face WARM (for Seattle) weather, I continue to search for better ways to get out of the kitchen faster.

One answer for an "everyday" side dish of greens is the Japanese "sesame sauce" or in Japanese Goma-ae.  This is a pretty easy sesame topping for any ol' tasty, fresh, blanched green vegetable.
Spinach is the classic, but green beans, asparagus, cucumbers, broccoli, gai-lan, Napa cabbage, beet greens, mustard greens, etc. etc. etc....

And thus you get Osouzai - a cold vegetable side dish.

As you can see, I've got some cold pickles as well.
(On any self-respecting Japanese table,
these would be in 4 different bowls/plates.)
Recipes for the quick pickles are the next entry.

Add the sesame sauce and you have Osouzai Goma-ae (cold vegetable side dish with sesame sauce).

Since spinach is such a commodity, and a delicate fragile thing, it usually is not one of the things that shows up in my local Farmers Market or in my CSA box.  The Oxbow Box provided me with both chard and kale.  

I used the chard in my Oxbow Box for this.

And guess what? A light blanch - in that small sauce pan of water, plus a gentle squeeze turns out to be enough.  

Even better news - these blanched greens are good for a few days in the fridge
So you can blanch all your greens when you get the box, and then use them
during the week.

I roughly chopped it


And gave it a quick toss with the delicious sesame topping. 

And I am out of the kitchen lickety-split.

Less heat & more flavor - just what I was after.  Check out the recipe.  Well - there are 2 recipes.  I'll give you the traditional one, and then the one more US cooks have the ingredients to pull off.  They are both very tasty, just different tasting.

Traditional Goma-ae ( or Gomae) - double this if you want 
(enough to dress a vegetable side dish for about 4 people)

Ingredients:
sesame seeds (white & black are both fine) - 3Tbs
dashi (or water)  - 2 tsp
sugar (brown) - 1 tsp
soy sauce - 1 tsp

Equipment:
small sauté pan
spice grinder/small food processor or Japanese suribachi mortar* (yeah - I don't have one either)
small bowl 
spoon or fork

Prep:
Put the sesame seeds in a dry pan over medium high heat.  

Keep an eye on the temp - well a hand.  When you can feel heat coming up through the pan by hovering your hand over it (about 3-4 min) start stirring the seeds.  When you start to smell toasty sesame seeds, pull them off the heat.

Cook!
When the seeds are cool enough to handle, pour them into your grinding apparatus.  
Grind until they look like ground pepper (stop before you get paste!)


Then stir in the rest of the ingredients.  Ready!
*my thanks to cookandsmile.blogspot.com for their fabulous catalogue of Japanese cooking utensils

Peanut Butter based Goma-ae
(If you have tahini, that'll get you even closer, OR heck, use any nut-butter you have handy.)

Ingredients:
smooth peanut butter - 2 Tbs 
soy sauce  - 2-4 tsp (depends on the saltiness of your peanut butter) 
sugar - 1-2 tsp (depends on the sweetness of your p.b.)
water or dashi - 1 Tbs 
sesame oil - 1 tsp

Equipment:
small bowl
for for mixing
microwave or very small pan

Prep:
Heat the soy sauce, sugar, water and sesame oil in the small bowl/pan.  It should be very hot to the touch, but need not be boiling.

Cook!
Smash and stir the peanut butter into the hot liquid.  Keep working at it until it is smooth.  This can take several minutes, so keep at it and don't despair.
Ta Da!  Delicious sesame peanut dressing.

Toss with your delicious greens.

Wednesday, August 6, 2014

Grilled Salad - Get me outta' the kitchen!

Why am I sweltering away in my hot kitchen when the cool evening breezes are starting to waft about my shady back deck?

Yeah - I don't have an answer either.  So it is time to head out to the grill for dinner.


The Oxbow Box provided me with my new favorite lettuce, Little Gem.  It makes me think of a mini Romaine - it has that sweet crunch, but in a more manageable size.  One thing that is fun (and tasty) with Romaine is grilling it until the cut side has black char marks.  The contrast of the sweet and charred is delicious.  I thought, since I was heading out of the kitchen, this would be the way to go!

Detour:
To go along with this - I did the butterflied/spatchcocked chicken.  By flattening the chicken it cooks quickly.  And rubbing a mixture of salt, pepper, chopped garlic, lemon juice and zest + a little oil under the skin and over the meat makes the chicken scrumptious, both hot, and cold as 2nd meal food the next day.

The first few time you flatten the chicken... it may take a little while, but after a few tries, the prep & the cooking will take less time than running out to get a rotisserie chicken.  (Check out this great, old school, instructional video - by one of the masters, Jaques Pepin.  You'll learn several great things.)

Back on Track:
So get out those Little Gem's, and slice them in half.

You can get them all washed off and any grit out this way.
Give them a firm shake to get the water out.

Rub them a little oil on all the surfaces (put about a 1/2 tsp in you hand, rub your hands together and then rub your hands over the lettuce halves.  You'll get everything covered, and use less oil this way).

Pull out the Patty Pan squash (or zucchini, or other summer squash),
slice into pieces about half the width of your pinky (1/8 inch or so), toss with a little salt and oil, and these are ready to go.

A hot grill is your best friend here.
Grill those veggies until they have distinct black marks - this will bring out their sweetness, and give them a delicious texture.

All you need now is delicious, cooling dressing to pull it all together.

Yogurt Dressing for Grilled Salad 

Ingredients:
thick yogurt (greek or drained regular) 1/2 C
parsley
dill or basil
garlic - 2 cloves
lemon juice or white wine vinegar 1-2 Tbs or to taste
salt & pepper to taste

Equipment:
small bowl
cutting board
knife
spoon

Prep & Cook!
Chop the herbs and garlic.  Stir them into the yogurt.  Start with 1 Tbs of the lemon juice/vinegar and a good pinch of salt and pepper.  Adjust the acid, salt and pepper to your taste.

All together now!


So quick note...

What if you have a grill with huge spaces between the grates?
Like I do.

Lodge Cast Iron to the rescue!  (No, they have no idea I'm mentioning this - it is just that good).  These pans are pretty indestructible.  You cannot damage them, no matter how hot your charcoal gets.  I mean, if you are trying to grill over lava (2100˚F), you have other things in mind, and I can't help you.

To cook smaller and more delicate things, I don't go in for some of these silly baskets, or breakable, rustable things.  I break out my big slab of cast iron.

 It preserves the grill experience, and I can use it on the stove as well.  (The other side is the pancake side.)
This side also works great for fish if you have something really delicate.
Oh, and if you just have a skillet

 bring it out the the grill instead.  No grill marks, but same great char - and OUT of the kitchen.

Monday, August 4, 2014

Cabbage Rolls - Updated

Hot Summer is here - and while the fruit is the star, all that sun grows amazing green stuff.
I have my paws on my OxBow Box and it is full of beautiful summer greens with a definite Italian theme.

My favorite sleeper produce of the summer is cabbage, and not just any cabbage, Savoy cabbage.

Here are these babies getting clean and crisp for market.

Savoy is the wrapping cabbage of choice.  And since I got a hold of the OxBow Box on a weekend, I had Time To Cook!  And so I did.

Italian Style Cabbage Rolls
I've loved the idea of cabbage rolls for awhile, but they are a huge pain to make, and so much of the filling is... wellllllll.... bland meatloaf.  And that is so sad.

But with the combination of Italian ingredients
zucchini
fennel


and of course the Italian parsley... I felt like it was time to do something about this.


Oh... and there was the thing where the tomatoes are so amazingly ripe they peel without a dip in boiling water
Ok... these were from the Farmers Market -
but LOOK local, ripe tomatoes! 
I've just gotta do it.

I had to take on the "cutting off the vein from the cabbage."

So blanch it for about 10 minutes,

drain and let it cool, then make sure you have a Sharp Knife

to cut off the thick vein

so it rolls well.

My 1st challenge was to make sure the vegetables were so tasty they were and important part of the filling.

I browned the HECK out of the onions
zucchini and fennel.
It was very important to cook down, soften and brown all the vegetables - half an onion, a banana sized zucchini- cubed - and thinly sliced fennel.

And unlike "traditional" rolls that are filled with a raw meatloaf that must be cooked for an hour or more... these could be assembled

not too much filling

fold over one side and roll

see how the edges are sticking up?

just poke it in like an
"innie" bellybutton

And then just baked (covered!) until heated through.  (20 min at 375˚F)*


I made a really simple fresh tomato sauce - because this is the ONE TIME OF THE YEAR!!!! I can.  I peeled them, pulled out the seedy-goo, and made a purée with the parsley, some of the fennel fronds, garlic and salt.

A little sauce on the bottom - a little sauce on the top
(yes, put sauce on all of them)
I baked it for about 20 minutes to make sure they were warmed through.


And NOW I did eat it all up!

(and the other dozen I made have gone to friends and family - and now I need to make more!)

* You can also make these ahead, and keep them in the fridge for a a few days - this time they need to be baked, covered, for about 45 min at 375˚F if they are coming straight out of the fridge.